unplugged
The Moondance Blog
March 15, 2026
Marlin Price, 21, grew up just outside of Virginia Beach, in a small town called Carrollton, VA. She is a recent graduate of Sewanee, where she earned a degree in Psychology with a minor in Business and Economics. She is no stranger to Moondance, having been a student on the Mountains to Sea,…
Read More
April 11, 2025
Above: “You’re going to Hollywood!” Moondance Student Slater Nalley get’s three yeses from American Idol Judges April 11, 2025 By Caroline Garrett + Mary Kathryn Wood Growth isn’t always a straight path. Sometimes, it looks like strumming a guitar surrounded by a group of 12 new friends in Croatia. Other times, it looks like standing…
Read More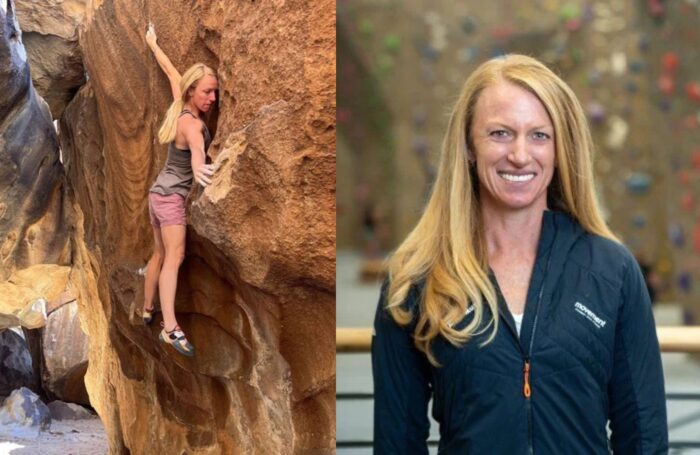
February 26, 2025
By Caroline Garrett + Mary Kathryn Wood Professional success isn’t necessarily the product of the right internship or degree, but rather the unique experiences you pursue and the skills they cultivate. Curiosity, creativity, problem-solving, and excellent judgment skills — these qualities set you apart, at least according to former Moondance leader turned CEO… …
Read More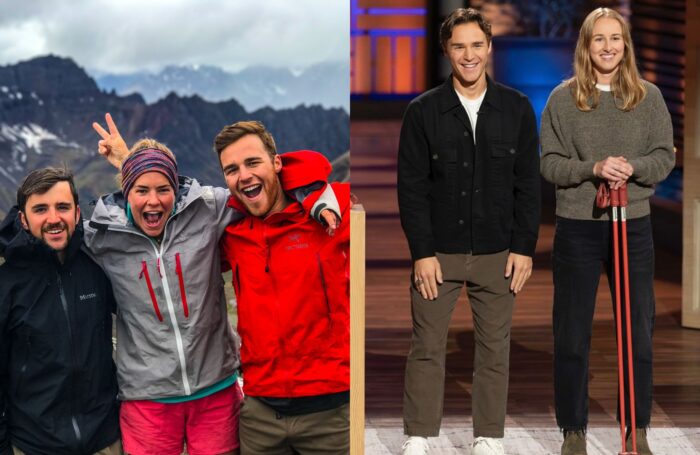
November 19, 2024
Left: Kelly McGee (right) and his two Co-Leaders, Tyler and Shelby on the Northern Lights trip in 2016. Right: Kelly McGee (left) and his business partner on Shark Tank in October 2024. November 19, 2024 By Banks Church Edited by Caroline Garrett and Mary Kathryn Wood “Really think when it comes to your…
Read More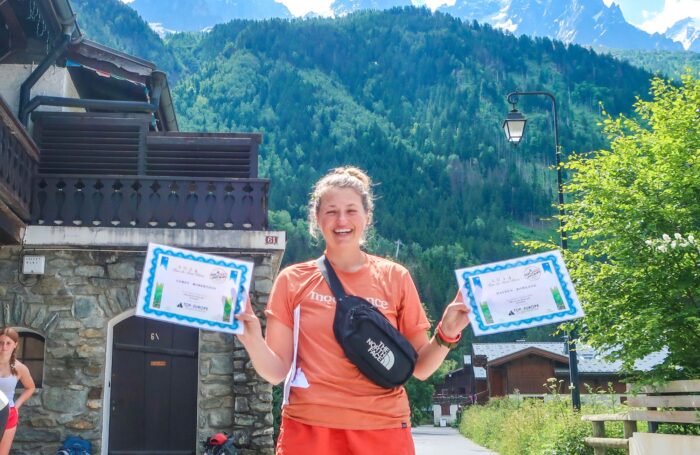
September 30, 2024
Above: Corey Robertson, a Moondance leader, traveling with students in Chamonix. Corey Robertson is a University of Alabama graduate who has worked internationally at Deloitte and Wise. She has recently been accepted into a prestigious MBA programme in France. Corey writes about how focusing on experiences rather than internships, and even jobs, has propelled…
Read More
June 24, 2024
Above: Mountain Brook native Corley Haynes, a Moodance leader, traveling with students in Spain. Lee Hurley, father of 2024 Moondance leader Willy Hurley, writes about the “big shift” on Moondance trips in his recent article in the Over The Mountain Journal. Read more below! May 28, 2024 by Lee Hurley May is…
Read More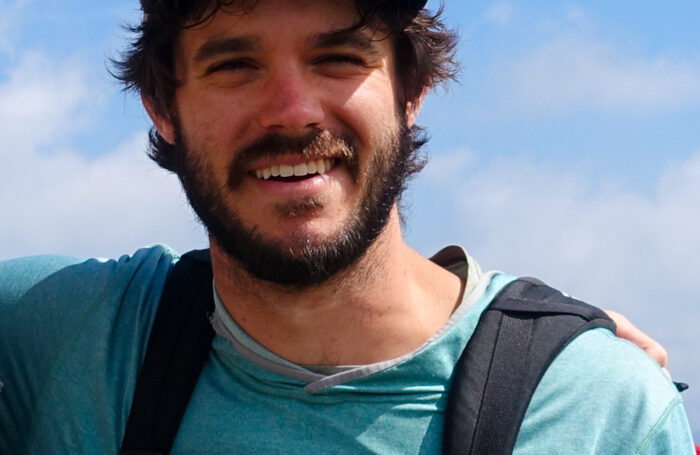
March 13, 2024
As many of you may already know, working at Moondance often requires that you “wear many hats.” This is true for the Trip Leader and an administrative role. In the office, you may find yourself researching new routes or destinations one minute, running budgets on spreadsheets another, and the next maybe testing camp stoves. In…
Read More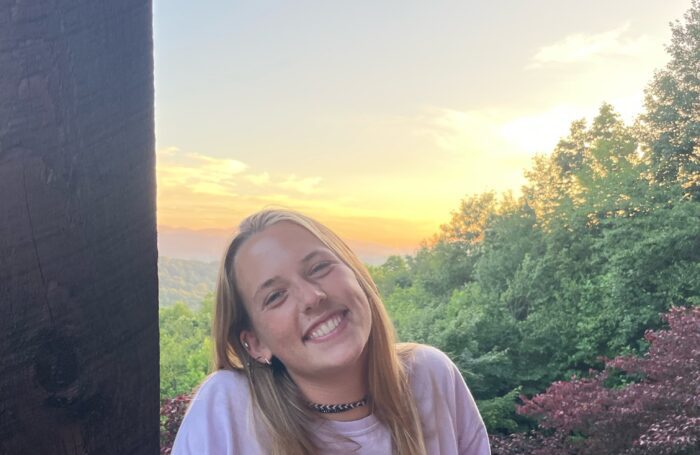
February 21, 2024
In a column originally published in The Daily Tar Heel, incoming First Year Moondance Leader Ellie Kollme discusses her decision to forge her own path. One different, and personally more fulfilling, than the one chose by many of her peers who are pursuing corporate summer internships. Ellie is from Davidson, North Carolina, is a sophomore…
Read More
January 8, 2024
Growing up, I was surrounded by Moondancers. All of my older cousins and siblings had participated on trips, and I could never wait until it was my turn to have the opportunity to experience Moondance for myself. My first ever summer spent with Moondance was in Washington state on the British Columbia trip in 2021,…
Read More
November 30, 2023
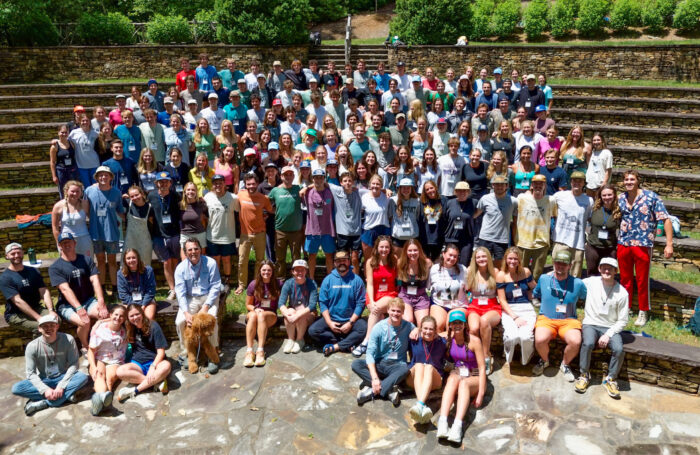
Since its founding in 1996, Moondance has evolved in countless ways–but one thing that has never changed is the spirit behind our mission. Although we now travel to 5 continents, have over 1700 students signed up to travel with us, and will hire 150+ Trip Leaders this summer, what makes us special is our commitment…
Read More